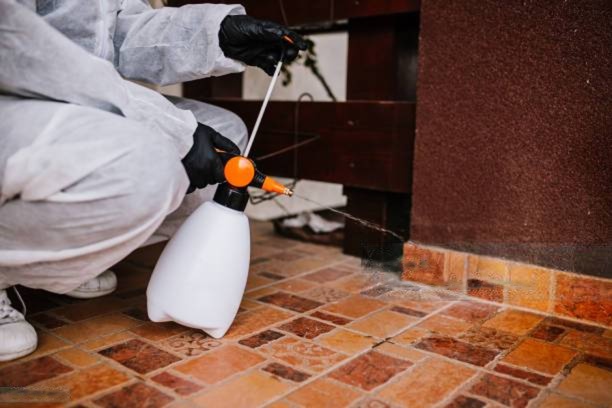
Pest Control Before Moving Into an Old or Renovated Home in Kolkata: Pre-Move-In Inspection Guide
A renovation can make a flat look new but still carry pest risks from the old property.
The walls might be newly painted, the kitchen might have new cabinets and the wardrobes might be newly installed. But in the course of renovation, plumbing openings, electrical penetrations, hidden spaces, new woodwork and construction debris can create conditions that warrant a pest inspection before you move in.
For an old or renovated home in Kolkata, the better question is not simply “Should I do pest control before shifting?”
It is:
What should be inspected, at which stage of renovation, and does the property actually need treatment before occupancy?
A practical approach before moving in is to inspect the property when key areas are accessible, correct conditions that encourage pests, complete the renovation and then do a final inspection before moving in furniture, food and personal belongings.

What Changes Inside a Home During Renovation That Affects Pest Risk?
Renovation does more than change the look of a property. It also impacts how easy it is to inspect and access different parts of the building.
This is particularly important in an older flat where there may be a history of previous woodwork, plumbing or secret building spaces which the new homeowner is not aware.
Walls Stop Being Accessible After Finishing Work
During renovation, cracks, pipe openings and service penetrations may be visible. After plastering, tiling, painting and skirting work, many of these areas become difficult to see.
That does not mean every gap is a pest problem. It means that the opportunity to inspect the area may disappear once finishing work is complete.
For this reason, inspection timing matters.
Cabinets Turn Open Construction Areas Into Concealed Voids
A new kitchen cabinet can cover sections of wall, flooring and plumbing that were previously visible.
Before installation, you may be able to see:
- Pipe penetrations
- Wall-floor junctions
- Gaps behind the cabinet area
- Damp patches
- Old woodwork
- Construction debris
After installation, much of this becomes inaccessible.
A professional inspection therefore needs to consider not just where pests are visible, but which areas will become inaccessible after renovation.
False Ceilings Change How You Inspect the Property
False ceilings can conceal electrical wiring, AC piping and other service areas.
Where access is available, these spaces should be considered during a property inspection—particularly if there has previously been evidence of insects, rodents, moisture or building defects.
The objective is not to open every ceiling unnecessarily.
It is to identify important concealed areas that may require future inspection or access.
The Renovation Stage When a Pest Inspection Is Most Valuable
There isn’t one universal answer to whether pest control should happen “before renovation” or “after renovation.”
For an old or extensively renovated property, inspection at different stages can provide different information.
Stage 1: Before Old Fixtures Are Removed
If possible, inspect the property before demolition begins.
Look at:
- Existing kitchen units
- Wardrobes
- Door and window frames
- Wooden structures
- Floor edges
- Utility areas
- Damp sections
This establishes the condition of the property before renovation changes it.
If there is visible termite evidence, cockroach activity or another pest problem, document it before the old structures disappear.
Stage 2: After Demolition but Before Finishing
This can be one of the most informative stages.
Once old cabinets, flooring or fixtures have been removed, areas that were previously hidden may become visible.
This is the time to look for:
- Old pest evidence
- Damaged wood
- Moisture
- Wall gaps
- Pipe openings
- Accumulated debris
- Previously concealed service areas
The advantage is simple: you can inspect areas before they are covered again.
Stage 3: After Plumbing and Electrical Work
Renovation frequently involves modifying plumbing and electrical systems.
That means new openings may appear around:
- Water pipes
- Waste pipes
- Electrical conduits
- Switch boxes
- Drain connections
- Service shafts
These should be checked before final finishing.
Again, this does not mean every opening requires pesticide treatment. Some require proper sealing or building repair instead.
Stage 4: After Cabinets, Woodwork and False Ceilings
Once the major installation work is finished, perform another inspection.
Now the question changes from:
“What was present in the old property?”
to:
“What has been created or concealed by the renovation?”
Check the areas that remain accessible around:
- New cabinets
- Wardrobes
- Wooden frames
- False ceilings
- Plumbing
- Floor edges
- Utility spaces
Stage 5: Before Furniture and Belongings Enter
This is the pre-move-in inspection.
The renovation should be substantially complete, construction debris should be removed, and the property should be ready for a final assessment.
If pest evidence is found at this stage, it is much easier to address the problem before the home is filled with beds, sofas, refrigerators, boxes, clothes and food.
The 7 Areas I Would Inspect Before Handing Over a Renovated Home
A good pre-move-in inspection should be systematic rather than based only on where the homeowner noticed an insect.
1. Kitchen Service Voids
Check accessible areas around:
- Sink cabinets
- Plumbing connections
- Pipe openings
- Cabinet backs
- Appliance spaces
- Wall-floor junctions
The important point is not simply to search for cockroaches.
Look for conditions that could support pest activity.
2. Bathroom Plumbing Penetrations
Inspect around:
- Basin plumbing
- Toilet connections
- Floor-level pipe entries
- Drainage points
- Wall penetrations
Moisture problems should also be noted.
If there is a leak or persistent dampness, treating insects without correcting the underlying building problem is unlikely to be a complete solution.
3. Door and Window Frames
Older wooden frames deserve particular attention where they remain part of the renovated property.
Look for:
- Visible deterioration
- Suspicious galleries or damage
- Moisture
- Gaps
- Signs of insect activity
Don’t assume damaged wood automatically means termites. Correct identification comes first.
4. New Wardrobe Back Panels
New wardrobes can conceal large sections of wall.
Before filling them with clothes, inspect accessible areas around the installation.
This is especially useful in an older property where the condition of the wall behind the new furniture was previously unknown.
5. False-Ceiling Access Points
If the property has a false ceiling, identify where service access is available.
The objective is future inspectability.
A concealed space that cannot be accessed at all can become difficult to investigate if a pest or moisture problem develops later.
6. Utility Shafts and Service Ducts
Flats often contain shared or semi-concealed service areas.
Where accessible and safe to inspect, check for:
- Pipe penetrations
- Moisture
- Debris
- Rodent entry points
- Insect activity
These areas can be particularly important in multi-unit buildings because conditions outside an individual flat can influence what happens inside it.
7. Wall-Floor Junctions After Final Flooring
Inspect accessible edges before large furniture covers them.
Pay particular attention to:
- Damp areas
- Cracks
- Gaps
- Existing pest evidence
- Areas around fixed woodwork
This is a simple checkpoint that homeowners often overlook once the property starts looking “finished.”
Old Home or Renovated Home: Which Parts Need the Closest Inspection?
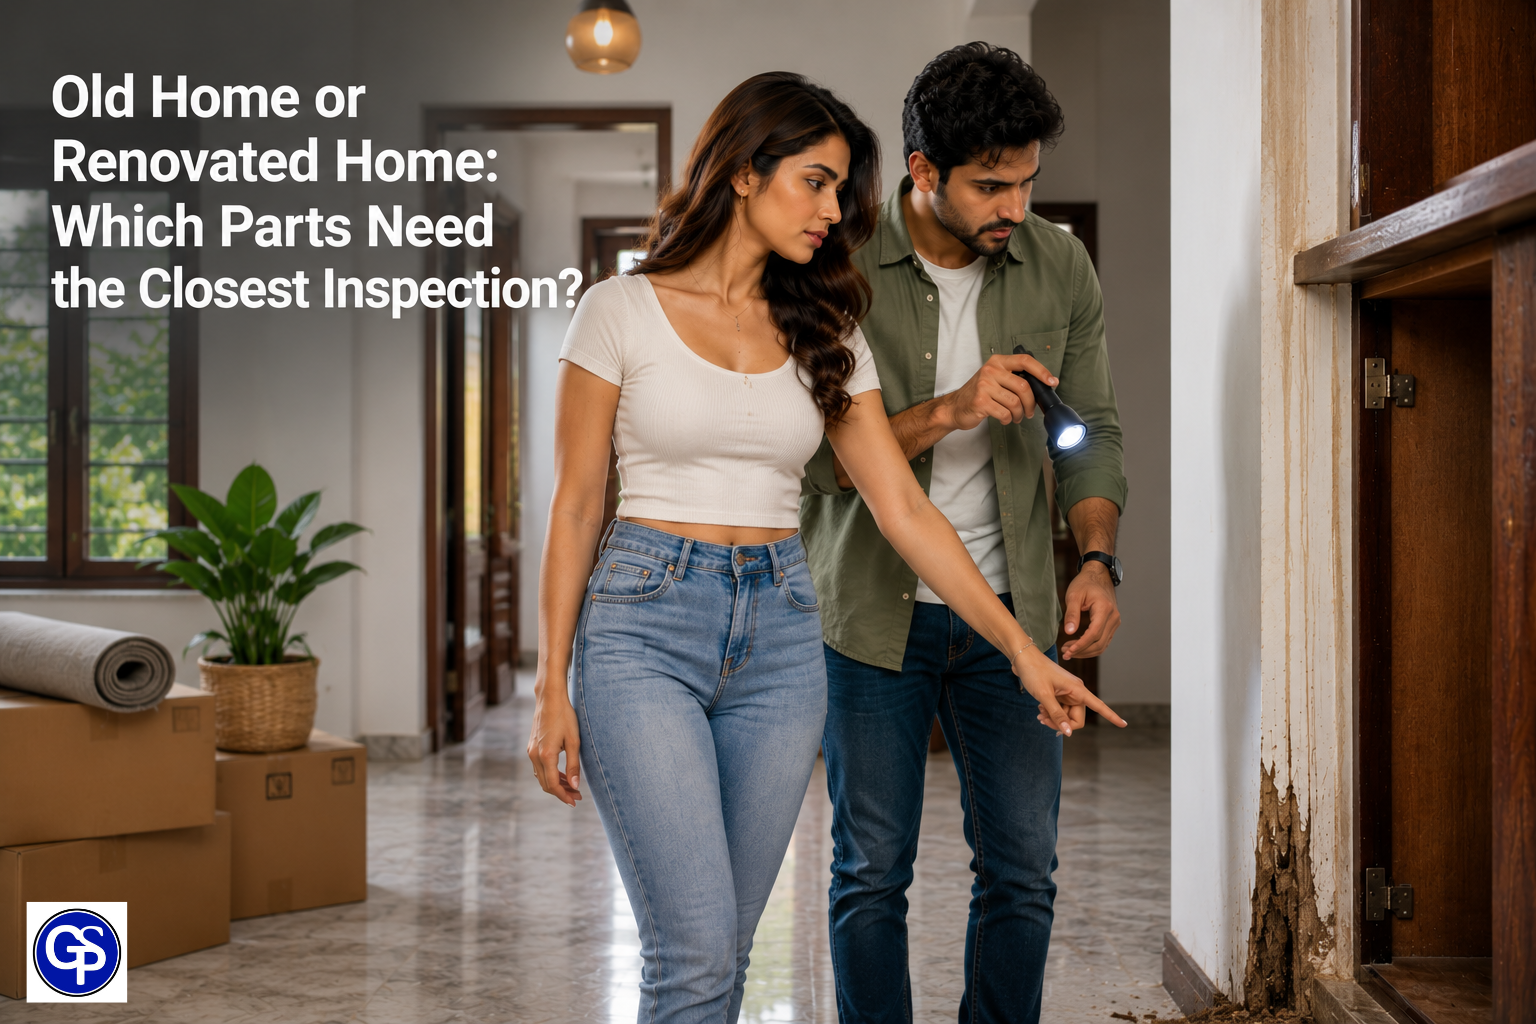
Not every renovated property has the same risk.
| Property Condition | Inspection Priority |
|---|---|
| Old flat with little renovation | Existing woodwork, frames and concealed defects |
| Old flat with a new kitchen | Cabinets, wall and plumbing interfaces |
| Old flat with new wardrobes | Existing wall and wood condition behind installations |
| Extensive plumbing renovation | Pipe penetrations, drains and service areas |
| False-ceiling renovation | Accessible service voids |
| Complete renovation | Full pre-occupancy inspection |
The key is to match the inspection to what has changed inside the property.
Why New Woodwork Should Be Checked for Termite Risk — Without Assuming It Has Termites
New wardrobes, kitchen cabinets and decorative woodwork often make homeowners think about termites.
That is reasonable, but new wood does not automatically mean a termite infestation.
Termite risk needs to be assessed in the context of the building and surrounding conditions.
New Wood Does Not Mean New Termite Infestation
A newly installed cabinet could be perfectly healthy while termite activity exists elsewhere in the building.
Conversely, an older hidden wooden structure may deserve more attention than the new cabinet itself.
This is why inspection should include both new installations and retained parts of the old property.
The Existing Building Matters Too
When checking for termite risk, consider:
- Older wooden frames
- Damp areas
- Wall-floor junctions
- Concealed wood
- Previous termite evidence
- Areas close to plumbing
Signs such as mud tubes, damaged wood or discarded wings deserve further investigation. If you’re unsure whether an insect is actually a termite, identification should come before treatment.
What to Photograph Before Moving Into a Renovated Flat
This is a small habit that can be surprisingly useful.
Before furniture and belongings arrive, photograph important concealed or semi-concealed areas.
Photograph Concealed Plumbing Points
Take photographs of pipe routes and access points before they disappear behind cabinets or furniture.
Photograph Wall and Floor Junctions
This gives you a record of the property’s condition before occupancy.
Photograph New Woodwork
Photograph the inside and accessible rear/side areas of new cabinets and wardrobes where practical.
Keep Records of Treatment and Renovation
Keep:
- Treatment invoices
- Product/service information supplied by the professional
- Inspection findings
- Renovation photographs
- Warranty/service documents where applicable
This creates a useful history if a pest issue appears months later.
You can then compare the current condition with the property’s pre-move-in condition instead of relying entirely on memory.
The New-Kitchen Pre-Move-In Pest Check
A new kitchen deserves its own final inspection because several renovation elements come together in one relatively confined area.
Before the Sink Cabinet Is Filled
Check accessible plumbing connections, cabinet corners and wall penetrations.
If there is leakage, fix it before assuming pesticide treatment is the answer.
Before Appliances Are Pushed Against Walls
Check the spaces around appliances and their connections.
Once refrigerators and other large appliances are installed tightly against walls, inspection becomes considerably harder.
Before Food and Groceries Enter
Ideally, complete the final inspection before the kitchen becomes fully stocked. This makes it easier to distinguish construction-related conditions from problems created after occupancy.
When Should Pest Control Be Scheduled Around Renovation Work?
The right timing depends on the pest problem and the stage of renovation.
Do Not Treat Blindly While Construction Is Still Ongoing
We can actively drill, demolition, dust and repeated movement through the properties can make a treatment or inspection less meaningful. If major work is still done, the property is still changing.
Complete Work That Creates New Access Points First
Where practical, complete major:
- Plumbing
- Electrical
- Cabinetry
- Flooring
- False-ceiling
- Woodwork
before the final pest inspection.
This allows the inspection to evaluate the property in something closer to its final condition.
Schedule the Final Inspection After Construction Dust Is Cleared
Once construction debris has been removed and the property is ready for occupancy, inspect again. If treatment is necessary follow the specific product and professional instructions regarding preparation, ventilation, drying and re-entry.
The principle is simple: finish the work that changes the pest-access conditions, inspect the finished property and then treat where treatment is justified.
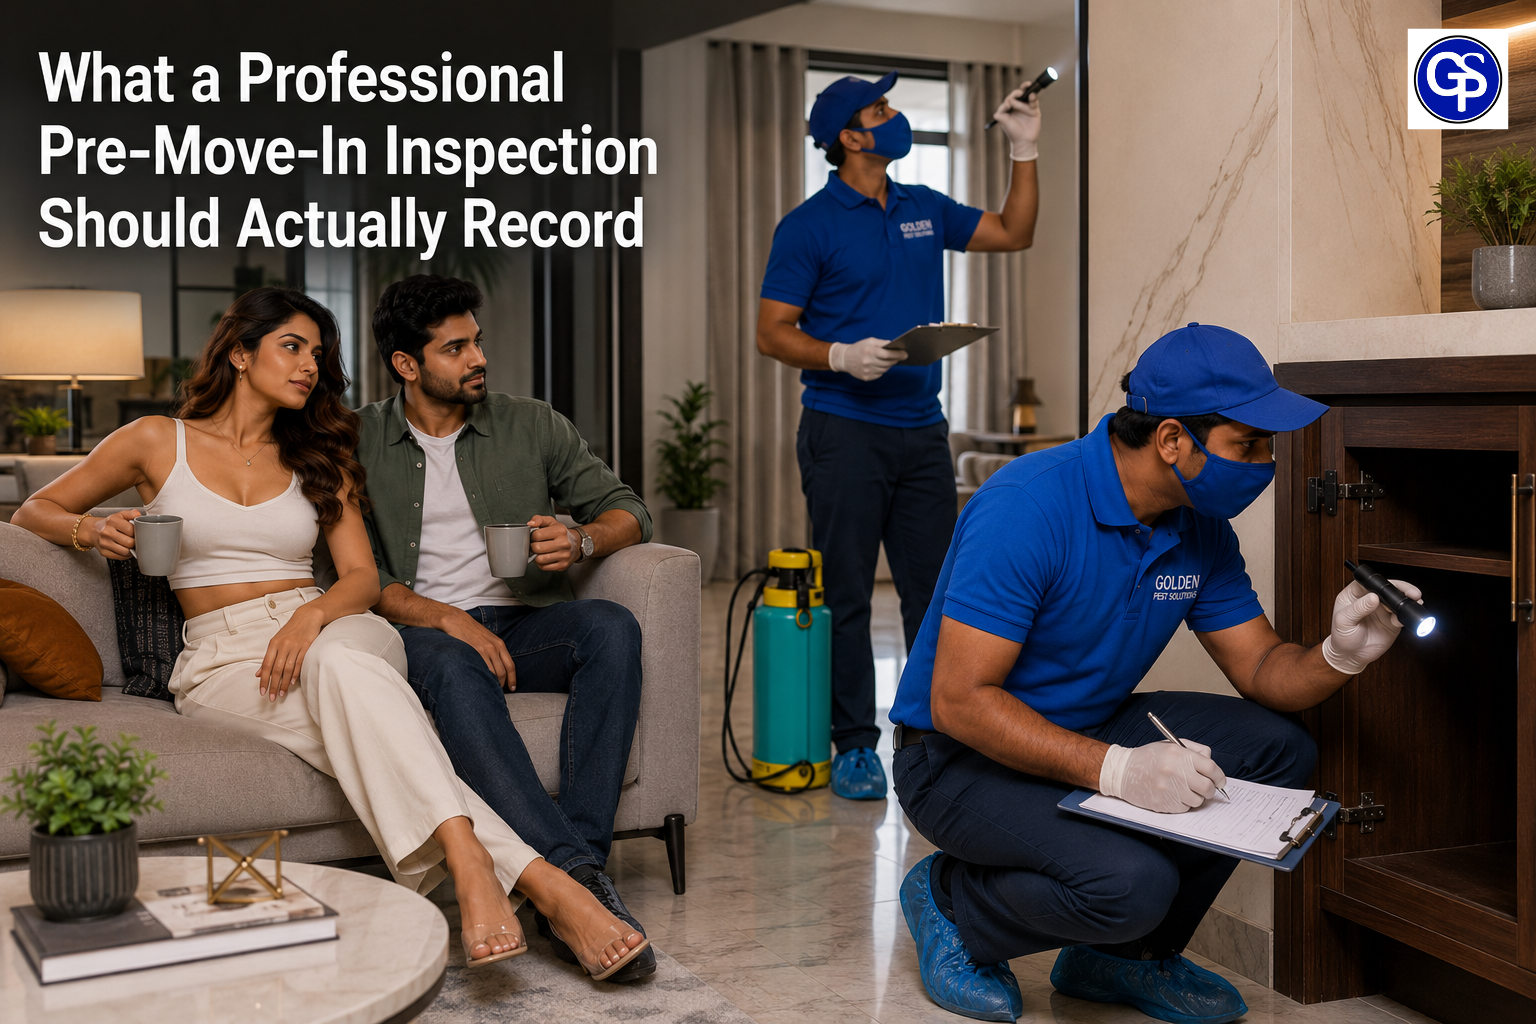
What a Professional Pre-Move-In Inspection Should Actually Record
A useful inspection should produce more than a simple statement saying “no pests found.”
Property Condition
Record:
- Property type
- Approximate age where known
- Extent of renovation
- Occupancy status
- Major areas renovated
Pest Evidence
Separate findings into:
Active evidence
from
Historical/suspected evidence
from
No visible evidence
This distinction is important because finding an old sign does not necessarily mean there is an active infestation.
Moisture and Building Conditions
Record visible:
- Leaks
- Dampness
- Drainage concerns
- Water accumulation
- Unsealed penetrations
These conditions may need building maintenance rather than pesticide treatment.
Accessibility
Mark areas as:
- Accessible
- Partially accessible
- Concealed
This gives future inspections useful context.
Recommended Action
A practical IPM-oriented recommendation can fall into three broad categories:
- Monitor — no immediate treatment indicated, but keep the area under observation.
- Prevent — correct sanitation, moisture, exclusion or building conditions.
- Treat — confirmed pest activity or an identified risk justifies an appropriate control measure.
This is far more useful than automatically recommending the same treatment for every renovated home.
When Is a Home Ready for Move-In From a Pest-Inspection Perspective?
Renovation completion and pest readiness are not necessarily the same thing.
Signs the Property Is Ready
Before shifting, ideally:
- Major renovation work is complete
- Construction debris is removed
- Visible moisture problems are addressed
- Accessible areas have been inspected
- Suspicious pest evidence has been assessed
- Necessary treatment has been completed where required
- Any treatment-specific re-entry instructions have been followed
Reasons to Investigate Before Moving In
Take another look if there is:
- Active termite evidence
- Repeated cockroach activity
- Unresolved leakage or dampness
- Suspicious inaccessible infestation
- Significant rodent entry
- Construction debris remaining in concealed areas
The objective isn’t to delay moving unnecessarily.
It is to avoid discovering an avoidable pest problem after the property is fully occupied.
A Practical Kolkata Example: From Renovation Handover to Move-In
Consider an older Kolkata flat where the kitchen, wardrobes and plumbing have been renovated.
A homeowner might naturally start by asking: “Can you spray the whole flat before we move in?”
A more useful professional starting point is different.
First, Understand What Was Renovated
Ask:
- What was removed?
- Was the kitchen replaced?
- Was plumbing changed?
- Were wardrobes installed?
- Were walls opened?
- Was a false ceiling added?
- Was old wood retained?
Next, Identify What Became Concealed
- A new cabinet may have covered a wall opening.
- A wardrobe may have covered an old wooden frame.
- A false ceiling may have changed access to a service space.
- Those changes tell the inspector where attention is required.
Finally, Decide Whether Treatment Is Necessary
If there is no evidence of pest activity and no significant condition requiring treatment, unnecessary pesticide application may not be the best answer.
If evidence is found, the treatment should match the pest and the location.
This is the core of a sensible IPM approach:
Inspect first. Identify the problem. Correct contributing conditions. Treat when justified. Monitor afterwards.
5 Mistakes Homeowners Make Before Moving Into a Renovated Home
Moving Furniture In Before Inspecting Concealed Areas
Once wardrobes, beds and appliances are installed, many areas become harder to inspect.
Treating Only the Room Where a Pest Was Seen
A visible insect is evidence that deserves investigation; it is not necessarily the entire source of the problem.
Ignoring Plumbing and Service Openings
A renovated property can have numerous new penetrations.
These should be checked and appropriately sealed or repaired where necessary.
Assuming New Wood Cannot Have a Termite Problem
New installation does not eliminate the need to consider the surrounding building and existing woodwork.
Treating While Major Renovation Is Still Ongoing
If the property is still being drilled, dismantled or rebuilt, conditions are continuing to change.
A final assessment is generally more meaningful once the major work is complete.
Final Answer: Should You Get Pest Control Before Moving Into a Renovated Home?
Yes but inspection should come before treatment.
For an old or renovated home in Kolkata, the most useful approach is to inspect the property at important renovation stages, particularly while concealed areas are accessible, and then perform a final pre-move-in inspection after renovation is substantially complete.
The practical sequence is:
Old property assessment → renovation → inspection of newly exposed areas → completion of plumbing/woodwork/finishing → final inspection → targeted treatment if required → move-in
This approach avoids two common mistakes: assuming a renovated home is automatically pest-free and treating every renovated home without first identifying an actual pest problem.
For homeowners in Kolkata, this is especially useful when moving into an older flat with new kitchens, wardrobes, false ceilings, plumbing modifications or retained wooden structures.
If an inspection identifies a specific pest problem, the appropriate control method should be selected for that pest rather than applying a one-size-fits-all treatment.